How to Create a Split Water Effect in Photoshop
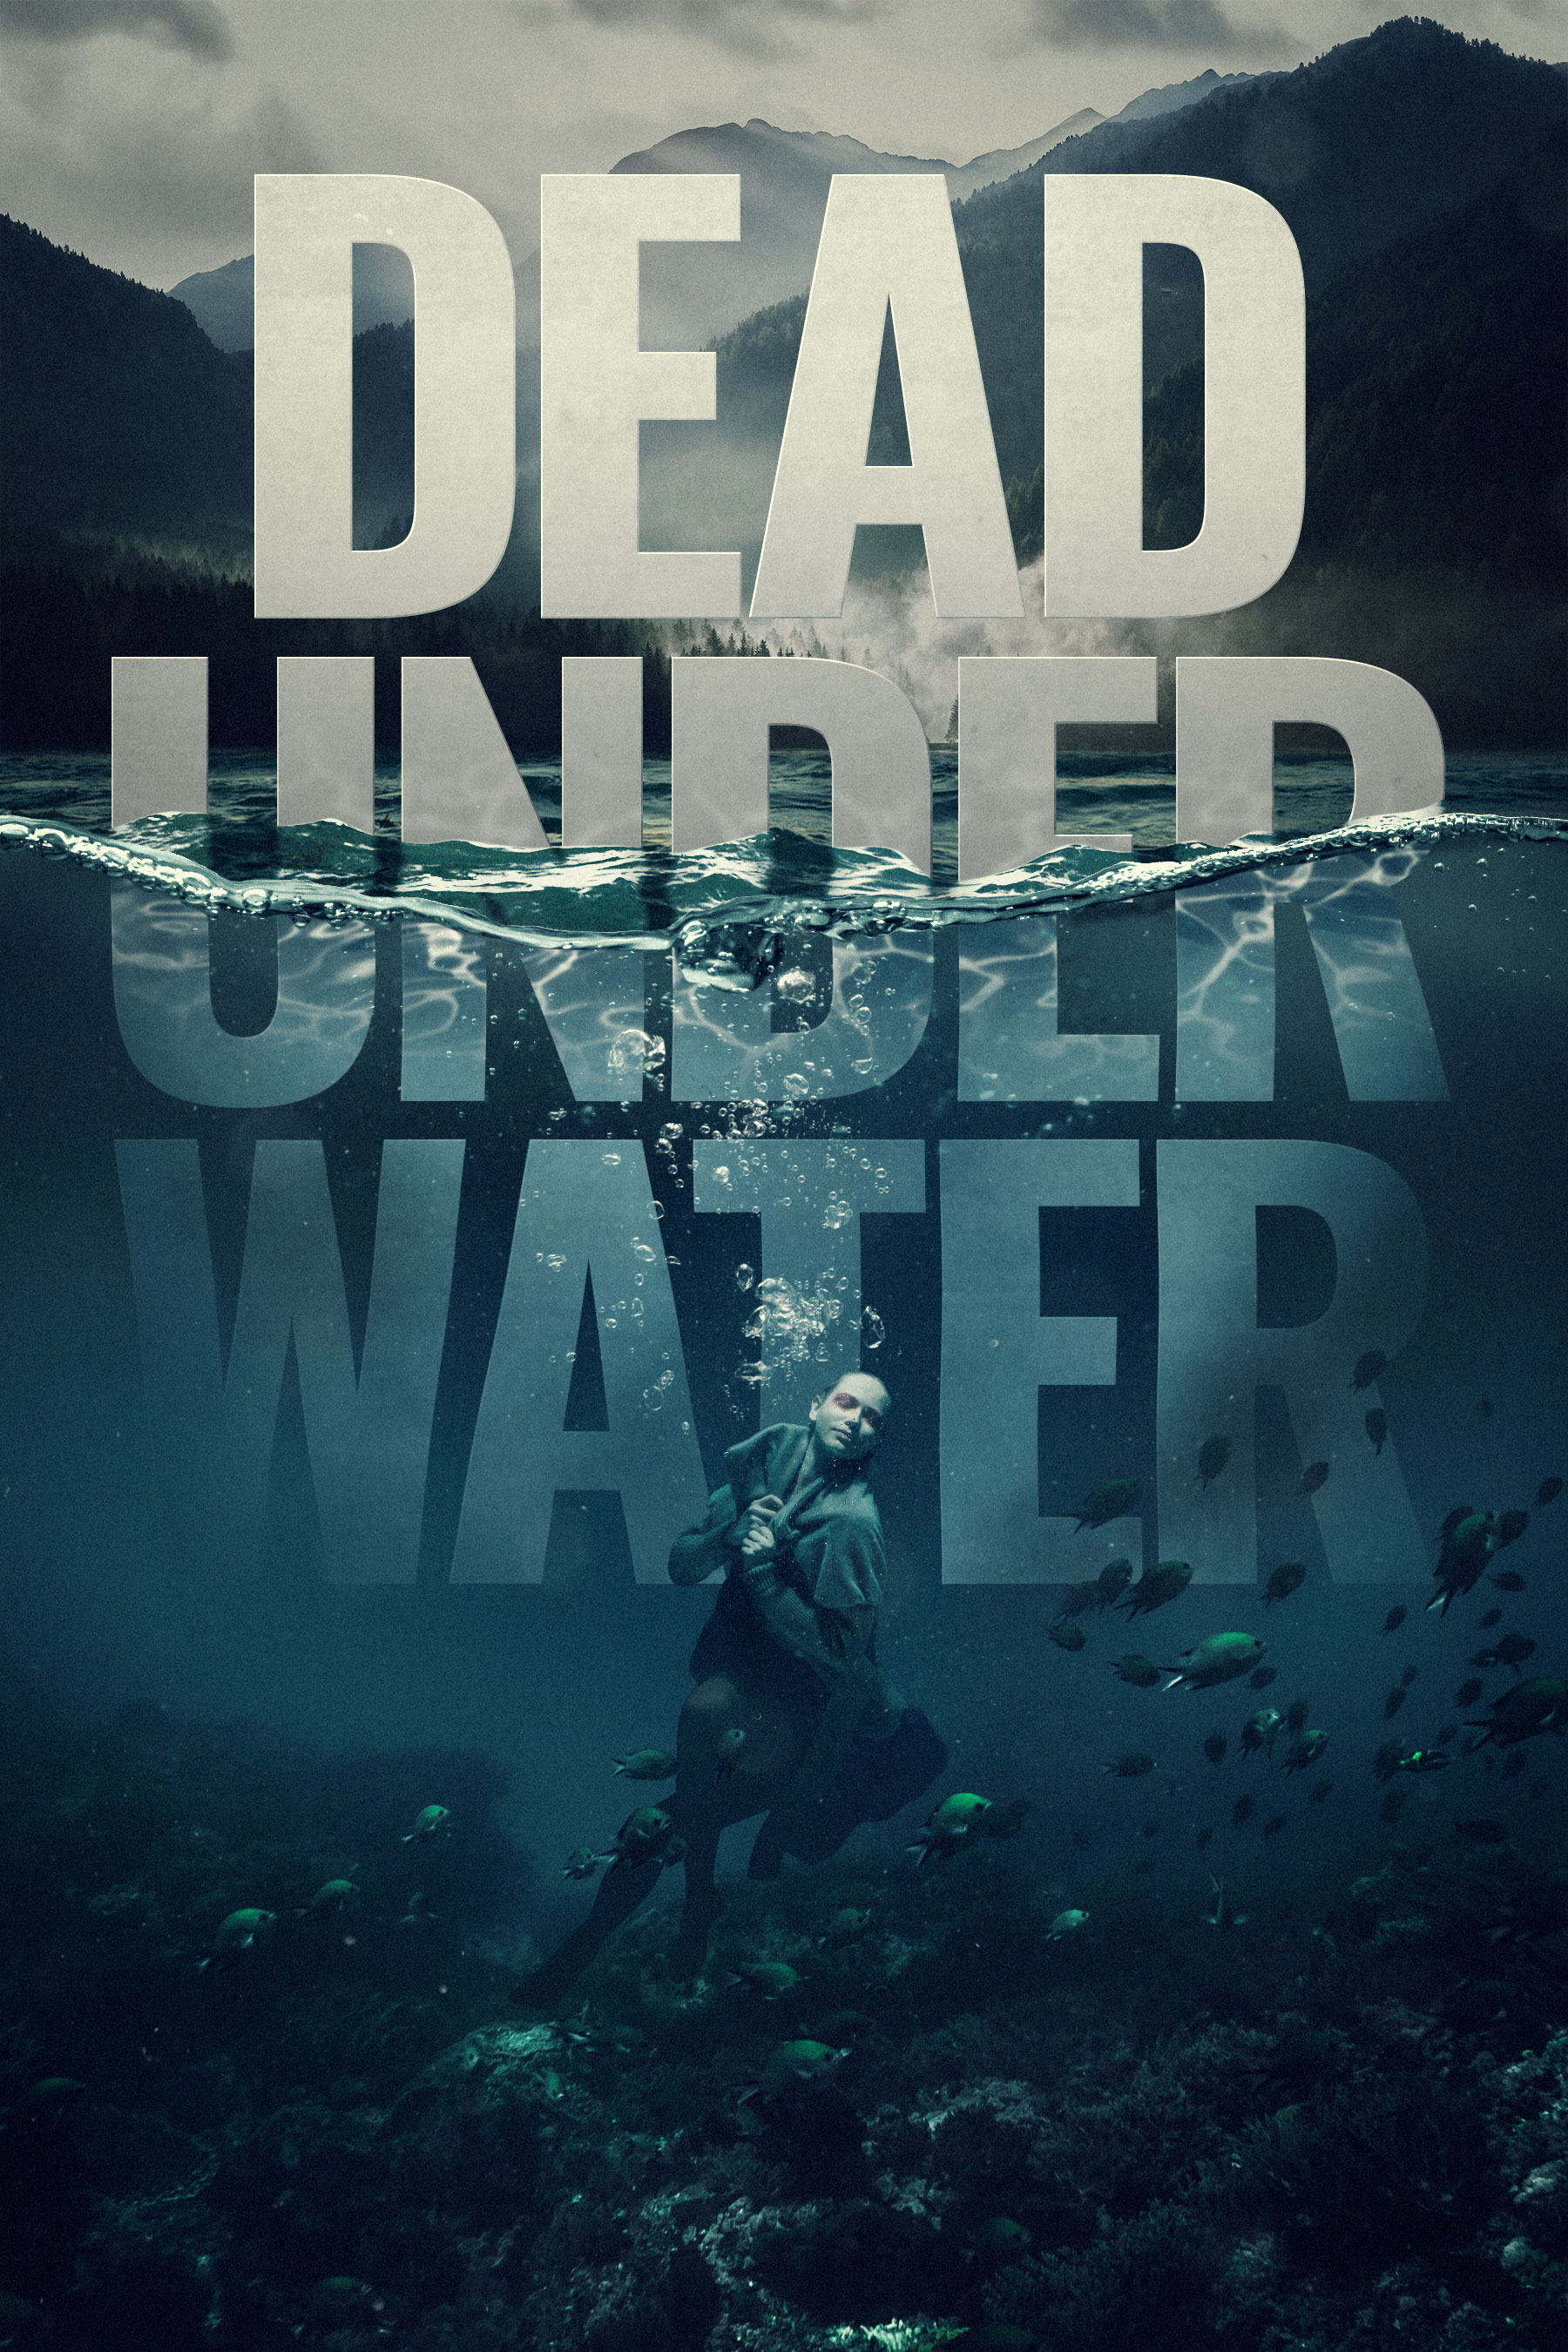
In this tutorial, you'll learn how to create a split water effect in Photoshop. This effect is where half of an element is above the water line and the other half is underneath, usually created by placing your camera (hopefully in a water housing) halfway in the water, so that the water is splitting the frame.
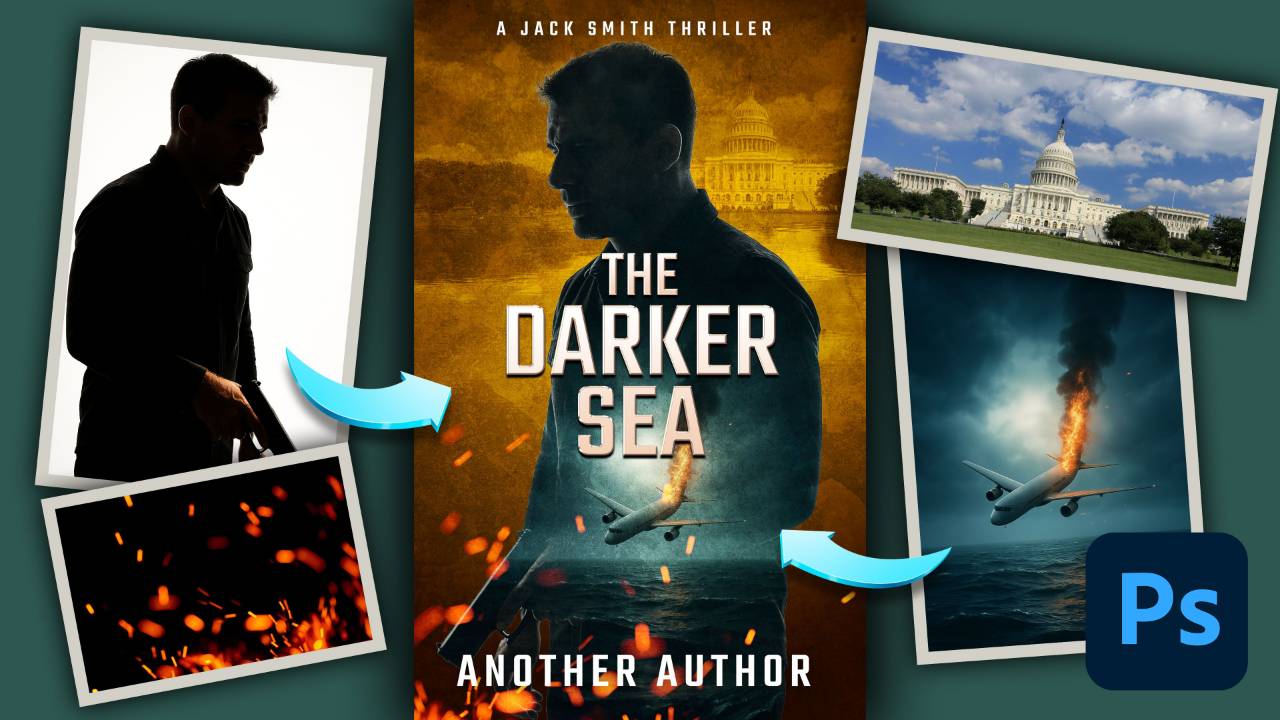
For our project, we'll be creating a book cover from start to finish. And by the end of it, you'll also have a smart object template where you can change the text to anything you like and have it automatically updated in your artwork!
In the tutorial, I use overlays and brushes from a few of my Nucly asset packs, which you can purchase here:
- Nucly Grunge pack (50 high-quality, royalty-free grunge textures with a large variety of colors and styles for use in your composites and images.)
- Nucly Water Brushes and Overlays (35 custom designed, high-quality water brushes and overlays to add detail and texture to your images.)
- Nucly Dust Brushes and Overlays (35 custom designed, high-quality dust brushes and overlays to add detail and texture to your images.)
- Nucly Compositing Patterns (56 high-quality patterns for use in compositing and layer effects in Photoshop.)
You can also get access to all of these and all of my training by joining the Nucly Photoshop Academy—our ALL-ACCESS membership, which also includes our exclusive community. Here we do online meetups, challenges and more to encourage more creativity and growth.
Finally, in the tutorial I use the font "Oswald Bold" for the lettering. This is a free Google font, that you can find here: https://fonts.google.com/specimen/Oswald
You can download all the assets for this tutorial here:
Note: If you are not yet a member of Nucly, you can access the downloads here.

Jump straight to the finish line?
You can get the final, layered Photoshop file from this tutorial (along with all assets) for a cup of coffee.
Purchase the Final Files


