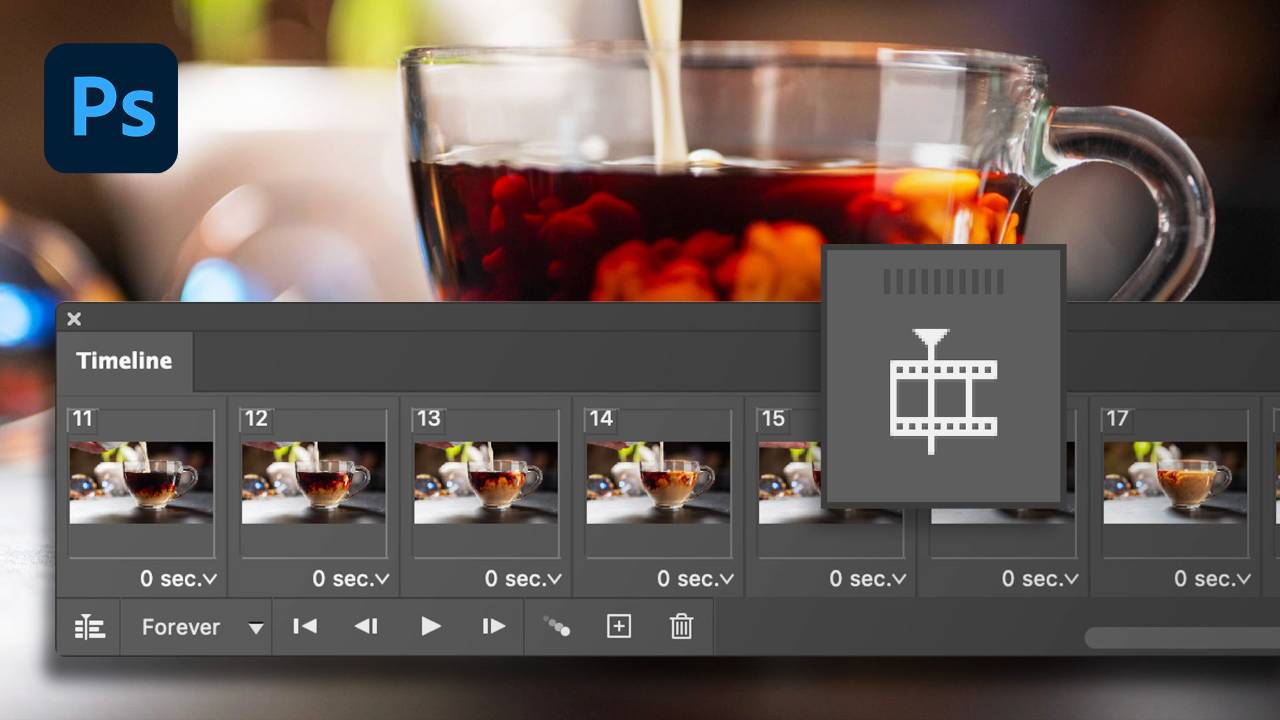
How to Animate in Photoshop Tutorial

In this tutorial, we're going to cover the two methods of animation in Photoshop—frame animations and video animations.
The first of these (frame animations) uses small changes from one image to the next to create the appearance of motion. Think claymation or stop motion. This is how traditional 2D animation is done. For this project, we'll also explore the latest Camera RAW interface, photomerge and some hidden features of the timeline.

You can use this more than stop motion animation—you can use it to create a sparkling space background. You could also use it to do a slideshow of images. You have control of how long each frame stops before going to the next frame.
The second type of animation that we cover is video animation or timeline animation. This is the modern style of animation used in most video motion software. In this method, you create a keyframe in time and then move forward in your timeline and change something about your layer—position, opacity, etc.—and create a second keyframe. Photoshop then creates a seamless transition between the two keyframes. With this, we create a simple before and after animation.

With this, you can do more complicated animations. There are certain drawbacks, however, including no motion blur, no eases and very limited animation options. But for small tasks, such as this one, they can save you a whole lot of time.
You can download all the assets for this tutorial here:
Note: If you are not yet a member of Nucly, you can access the downloads here.


