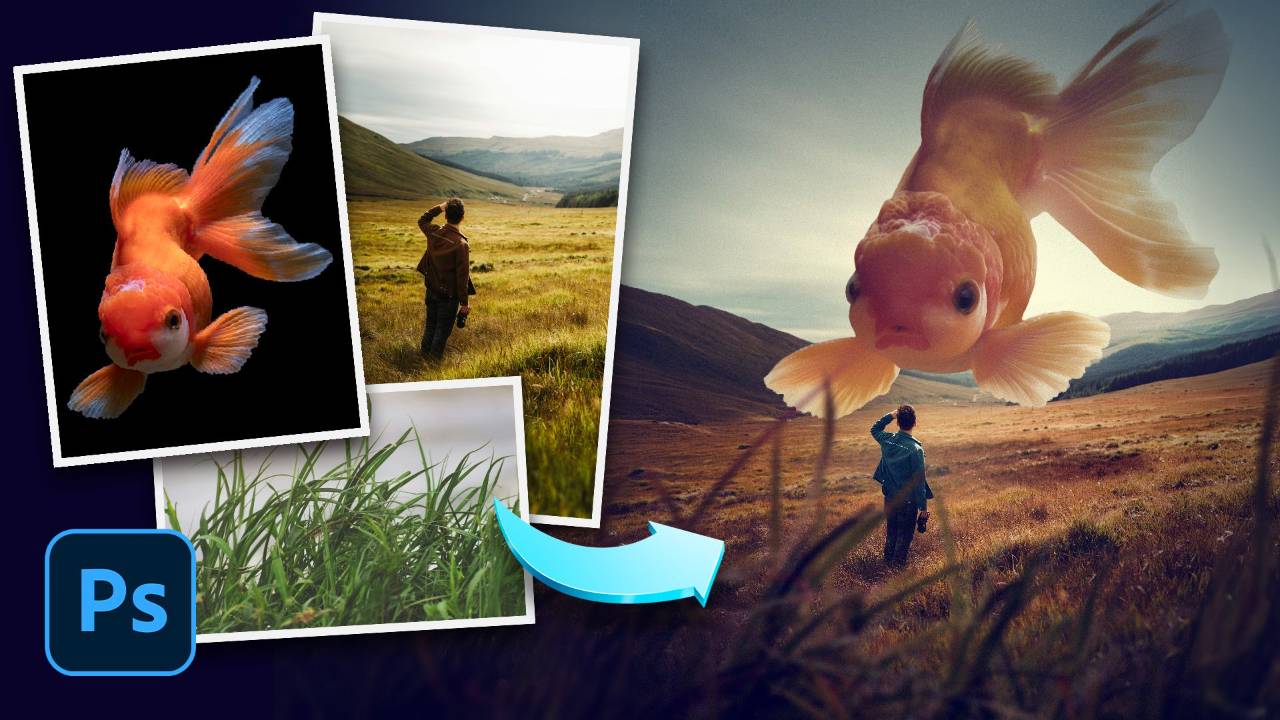
Kinds of Kindness Movie Poster Photoshop Tutorial
In this tutorial, I'll show you how to recreate the movie poster for Yorgos Lanthimos new film "Kinds of Kindness" using Photoshop. In the course of this, you'll learn selection techniques, free transform, color grading, text in Photoshop, adding film grain and more!
Some of my notes from doing the tutorial:
Step 1: Set Up Your Document
- Open Photoshop and create a new document.
- Set the dimensions to 1334 x 2000 pixels.
- Resolution: 72 pixels/inch.
- Color mode: sRGB.
Step 2: Add Guides and Margins
- Set up guides and margins to structure your layout.
- Add 2 vertical guides and 4 horizontal guides.
- Set the margins to 36 pixels (top), 32 pixels (left and right), and 130 pixels (bottom).
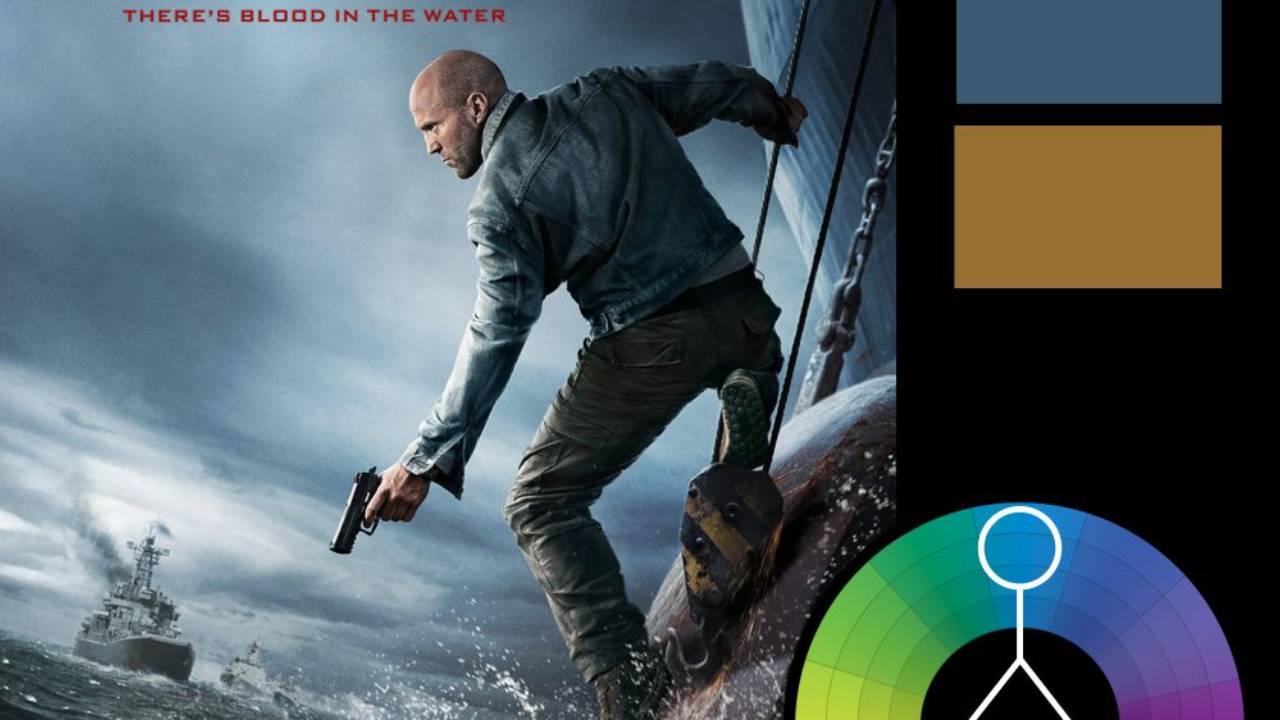
Step 3: Choose Your Colors
- Use the following colors for your design:
- Blue: #02789d
- Red: #d10a10
- Yellow: #f9b904
Step 4: Import and Edit the Main Image
- Pull in the image of the girl into your document. You'll find this in the assets link.
- Cut out the face and clean up the edges.
- Enlarge the face to make it the focal point of the poster. Enlarge by 135% to 140%.
- Add a shadow behind the face for depth.
Step 5: Colors and Texture
- Add a curve adjustment layer to enhance the colors:
- Increase the blues in the blacks.
- Add yellow to the whites by pulling down the blue curve.
- Add a film grain overlay
Step 6: Add Movie Credits
- Insert the movie credits at the bottom of the poster. These are in the assets.
- Apply a yellow color overlay (#f9b904) to the credits layer.
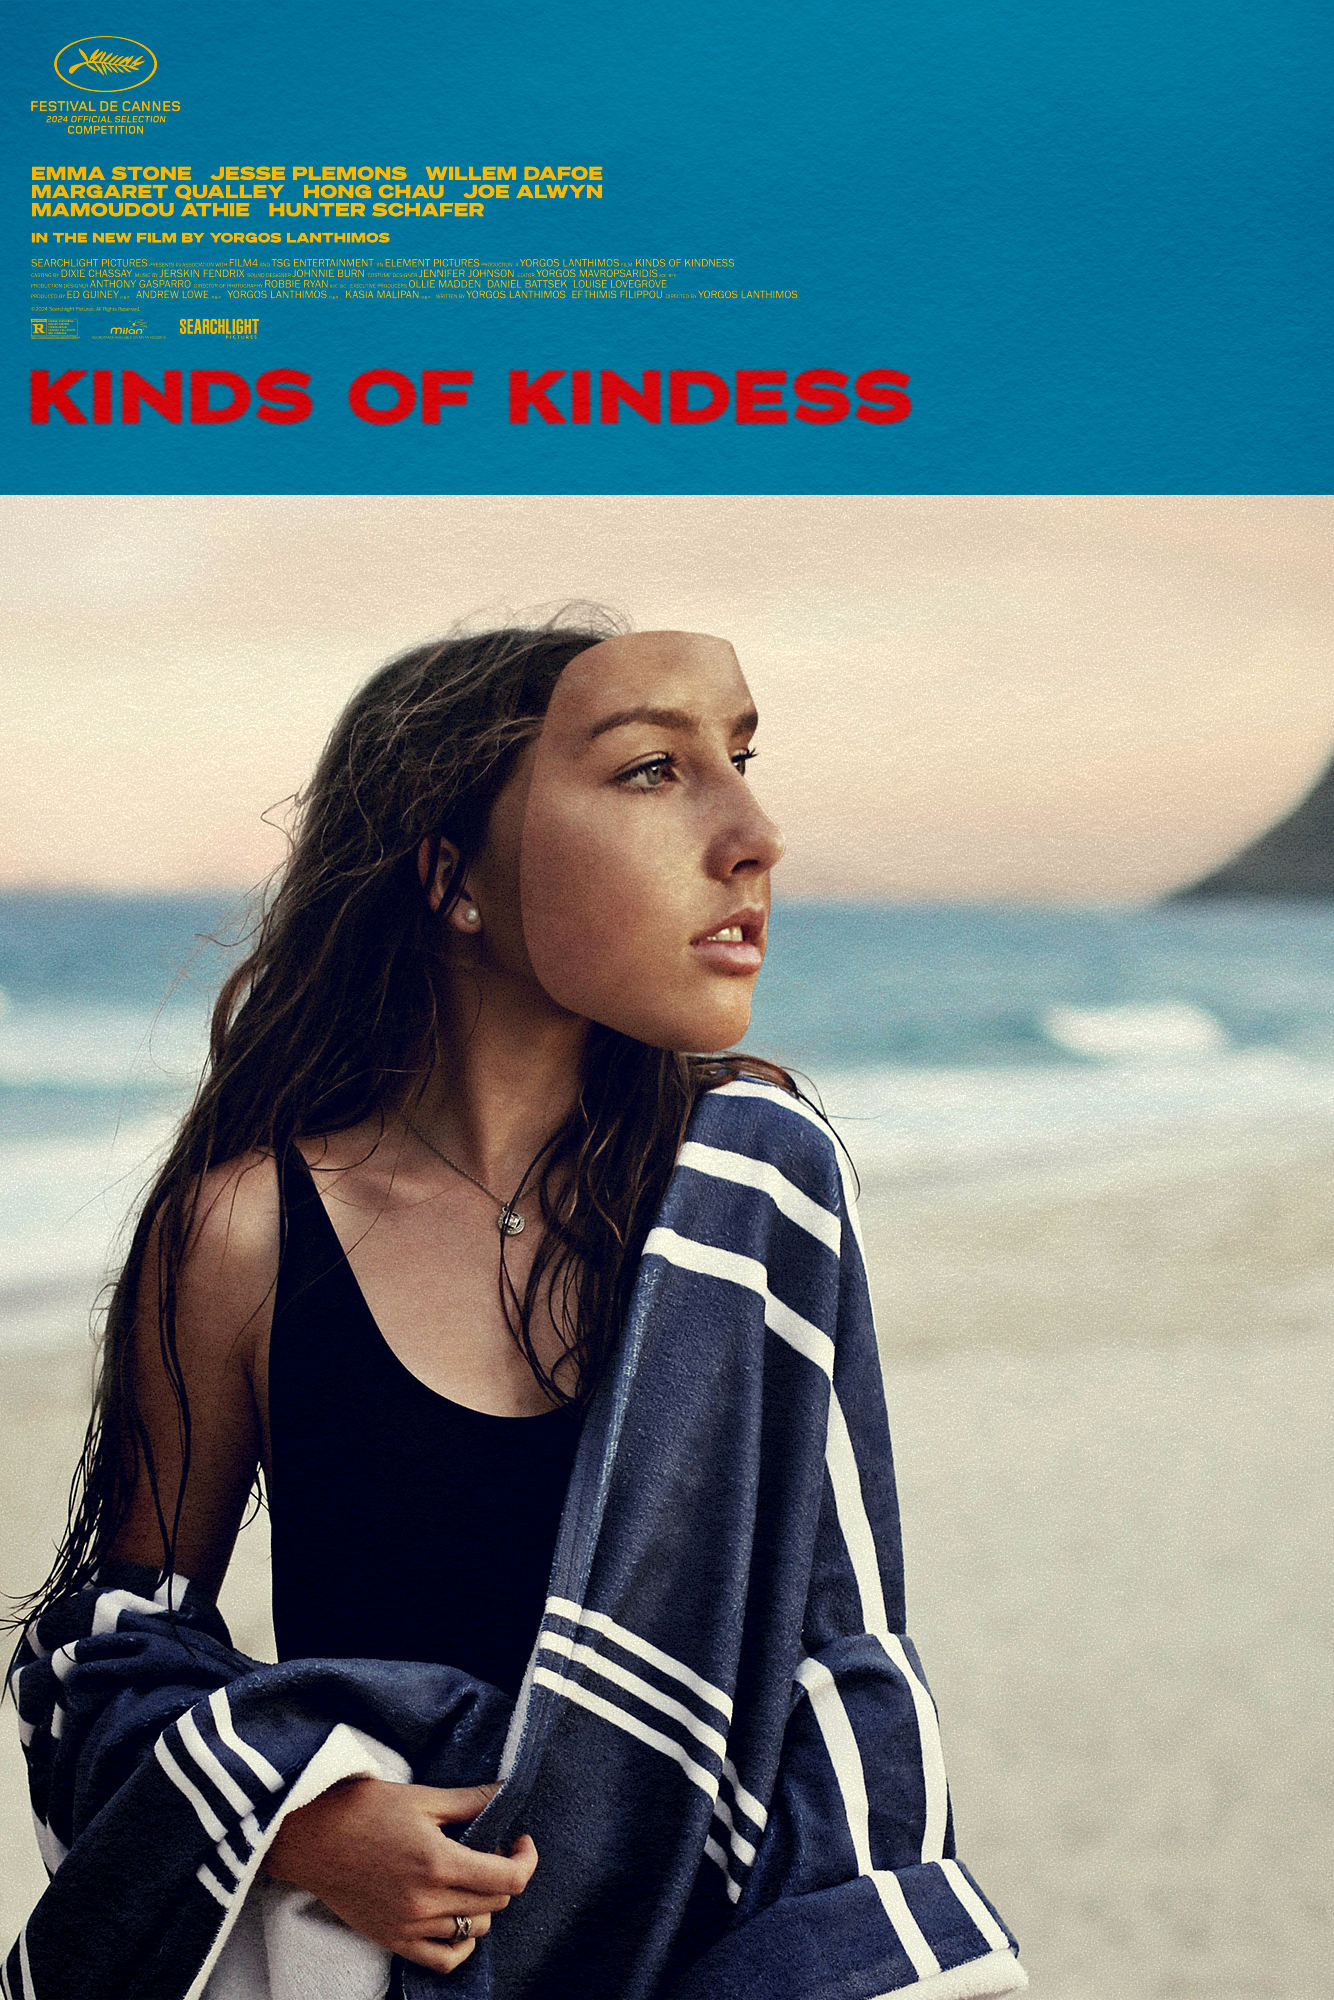
Step 7: Add Title Text
- Add the red text “KINDS OF KINDNESS” to your poster using the color #d10a10
- Set the font to Adrianna Extended Bold, set to 71pt and 20pt tracking (you can download the font from Adobe Fonts. Here's a direct link: Adrianna Extended Bold.)
Step 8: Add Paper Texture
- Add the paper texture from the assets, adjust the lightness/brightness and color to be a 50% neutral overlay and then set the blend mode to Linear Light at 40% fill.
There you have it! Those are all the steps. Once you've setup the file, you can easily repurpose it for other character posters.
You can download all the assets for this tutorial here:
Note: If you are not yet a member of Nucly, you can access the downloads here.
Jump straight to the finish line?
You can get the final, layered Photoshop file from this tutorial (along with all assets) for a cup of coffee.
Purchase the Final Files